Next.js Storefront Quickstart
This document guides you to install and set up the Next.js Storefront for your Medusa Server.

Instant Deployment to Netlify
Instead of manually following this guide to install then later deploy the Next.js Storefront, you can deploy the Next.js Storefront to Netlify with this button:

Prerequisites
This document assumes you already have a Medusa server installed. If you don’t, please follow the Quickstart guide for the Medusa server to learn how to do it.
Installation
It is recommended to use Yarn for the installation process as it's much faster than using NPM.
1. Create a new Next.js project using the Medusa starter template:
npx create-next-app -e https://github.com/medusajs/nextjs-starter-medusa my-medusa-storefront


2. Change to the newly created directory my-medusa-storefront and rename the template environment variable file to use environment variables in development:
cd my-medusa-storefront
mv .env.template .env.local
3. Make sure the Medusa server is running, then run the local Next.js server:
npm run dev
Your Next.js storefront is now running at localhost:8000!
If you run into errors during the installation, check out this troubleshooting guide.
Development Notes
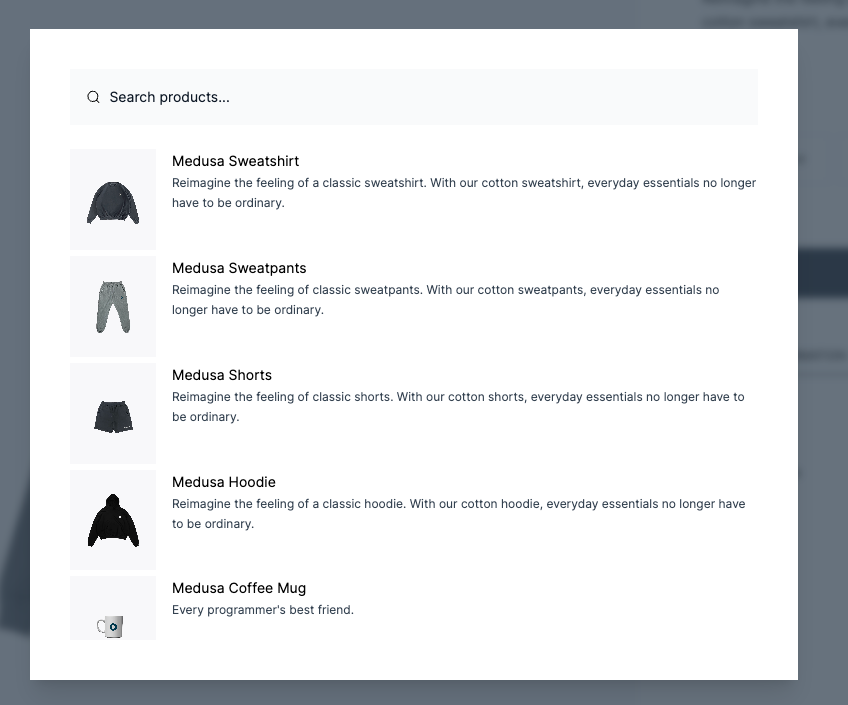
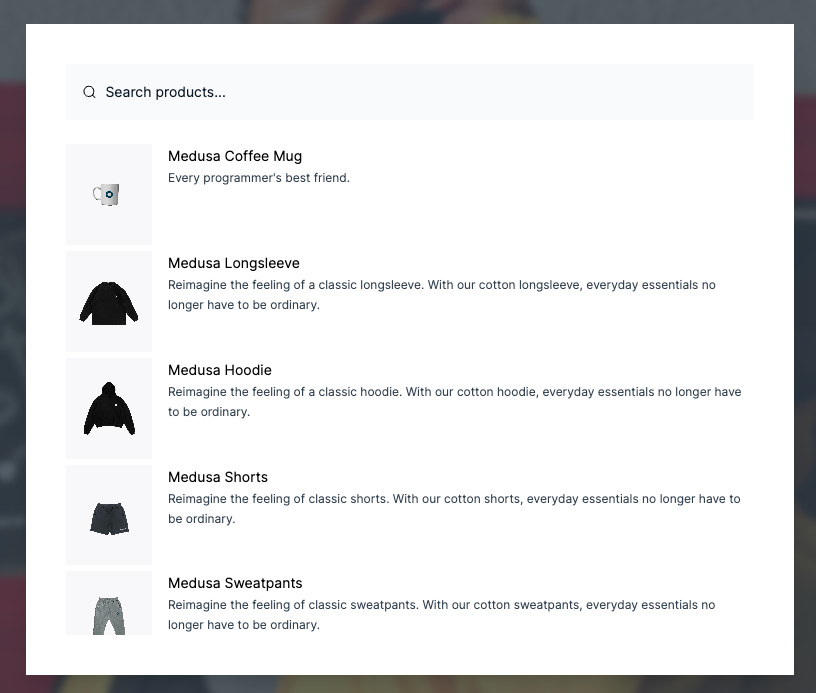
Toggle Search Engine Feature
The Next.js storefront by default is compatible with MeiliSearch.
To enable or disable the search engine, change the value of the feature in store.config.json:
{
  "features": {
    "search": false
  }
}
Then, restart your Next.js server. Depending on whether you enabled or disabled the search engine, the search bar will appear or disappear in the navigation bar accordingly.
MeiliSearch Integration
If you have the search engine feature enabled, it is expected that you have installed the MeiliSearch plugin on your Medusa server. If not, follow this guide to install it.
In your Next.js storefront, set the environment variables necessary for the MeiliSearch integration:
NEXT_PUBLIC_SEARCH_ENDPOINT=<YOUR_MEILISEARCH_URL>
NEXT_PUBLIC_SEARCH_API_KEY=<YOUR_API_KEY>
NEXT_PUBLIC_SEARCH_INDEX_NAME=products
<YOUR_MEILISEARCH_URL> is the URL MeiliSearch is running on. The default is http://127.0.0.1:7700.
NEXT_PUBLIC_SEARCH_INDEX_NAME is the index name of the products in MeiliSearch. By default, it’s products.
<YOUR_API_KEY> is the API key used to search through MeiliSearch indexes. To create a new API Key, make sure that the MeiliSearch service is running and send the following request:
curl \
  -X POST '<MEILISEARCH_URL>/keys' \
  -H 'Content-Type: application/json' \
  -H 'Authorization: Bearer <MEILISEARCH_MASTER_KEY>' \
  --data-binary '{
    "description": "Search products",
    "actions": ["search"],
    "indexes": ["products"],
    "expiresAt": "2024-01-01T00:00:00Z"
  }'
Make sure to replace <MEILISEARCH_URL> with the URL MeiliSearch is running on and <MEILISEARCH_MASTER_KEY> with your MeiliSearch master key.
Then, restart the Next.js server. You’ll be able to search through available products by clicking the search icon in the navigation bar.
To make sure the Next.js storefront properly displays the products in the search result, include in the displayedAttributes setting of the MeiliSearch plugin on the Medusa server at least the fields title, handle, description, and thumbnail.
Algolia Integration
Instead of using the default MeiliSearch search engine, you can switch to using Algolia. Make sure you start by installing the Algolia plugin on your Medusa server. You can do it by following this guide.
In your Next.js storefront, set the environment variables necessary for the Algolia integration:
NEXT_PUBLIC_SEARCH_APP_ID=<YOUR_APP_ID>
NEXT_PUBLIC_SEARCH_API_KEY=<YOUR_SEARCH_API_KEY>
NEXT_PUBLIC_SEARCH_INDEX_NAME=products
Where <YOUR_APP_ID> and <YOUR_SEARCH_API_KEY> are the Algolia App ID and Algolia Search API Key respectively. You can retrieve them from Algolia by going to API Keys in your account settings.
NEXT_PUBLIC_SEARCH_INDEX_NAME is the index name of the products in Algolia. By default, it’s products.
Next, change the content of src/lib/search-client.ts to the following:
import algoliasearch from "algoliasearch/lite"

const appId = process.env.NEXT_PUBLIC_SEARCH_APP_ID || "" // You should add this to your environment variables

const apiKey = process.env.NEXT_PUBLIC_SEARCH_API_KEY || "test_key"

export const searchClient = algoliasearch(appId, apiKey)

export const SEARCH_INDEX_NAME =
  process.env.NEXT_PUBLIC_INDEX_NAME || "products"
Then, restart the Next.js server. You’ll be able to search through available products by clicking the search icon in the navigation bar.
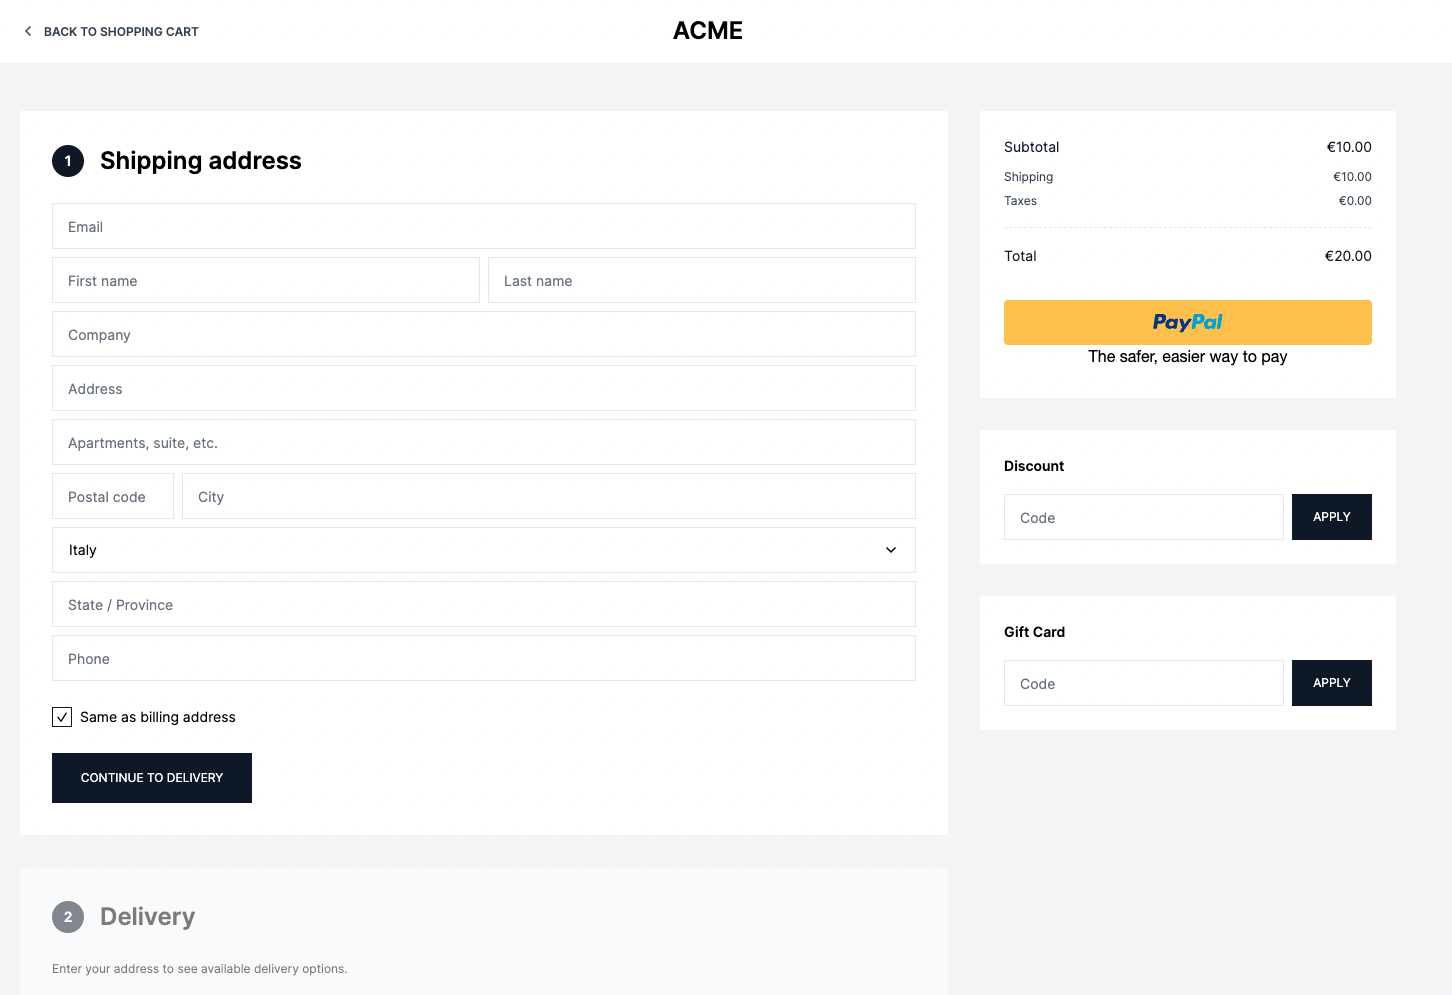
Stripe Payment Integration
Stripe integration is supported by default. Make sure you have Stripe installed and enabled on your Medusa server first. You can follow this guide to learn how to install it.
Then, in your Next.js storefront, set the environment variable necessary for the Stripe integration:
NEXT_PUBLIC_STRIPE_KEY=<YOUR_PUBLISHABLE_KEY>
Make sure to replace <YOUR_PUBLISHABLE_KEY> with your Stripe publishable key. It can be retrieved from your Stripe dashboard by going to Developers → API Keys.
If you restart your Next.js server you should be able to pay with Stripe on checkout.
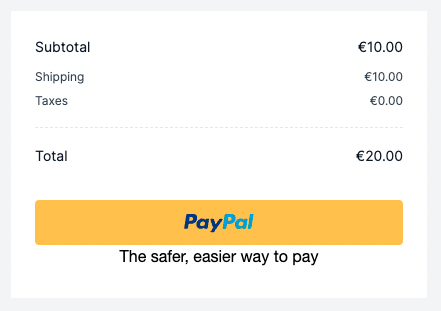
PayPal Payment Integration
PayPal integration is supported by default. Make sure you have PayPal installed and enabled on your Medusa server first. You can follow this guide to learn how to install it.
Then, in your Next.js storefront, set the environment variable necessary for the PayPal integration:
NEXT_PUBLIC_PAYPAL_CLIENT_ID=<YOUR_CLIENT_ID>
Make sure to replace <YOUR_CLIENT_ID> with your PayPal client ID. You can retrieve it from the PayPal developer dashboard.
If you restart your Next.js server you should be able to pay with PayPal on checkout.
Customization
To customize the pages of the storefront, you can customize the files under the src/pages directory.
To customize the components used in the storefront, you can customize the files under the src/modules directory.
To customize the styles of the storefront, you can customize the src/styles directory.
Change Port
By default, the Next.js storefront runs on port 8000.
To change the port, change the develop command in package.json to the following:
"scripts": {
    //other scripts
    "dev": "next dev -p <PORT>"
}
Make sure to replace <PORT> with the port number you want the storefront to run on. For example, 3000.
Then, on your server, update the environment variable STORE_CORS to the URL with the new port:
STORE_CORS=http://localhost:<PORT>
Development Resources
You can learn more about development with Next.js through their documentation.
Storefront Features
- View all products and manage your cart.

- Customer authentication and profiles.
- Full checkout workflow.